How to clean an oven quickly
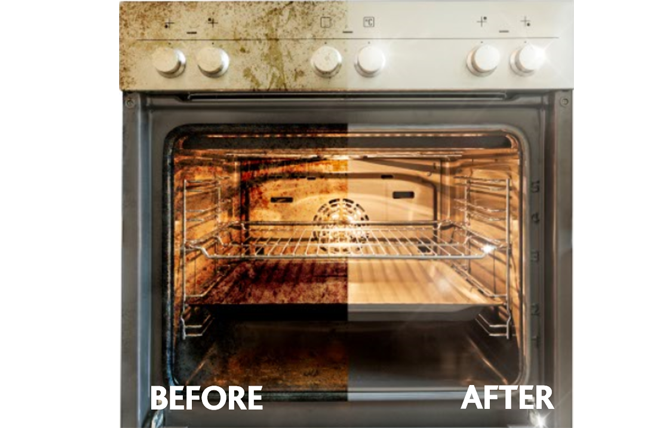
Let’s face it, cleaning your oven is one of those chores we all put to the back of our minds. Then, when we do get around to it, it takes the best part of a day. Time that we could be spending doing something much more exciting. There are some methods that take less man hours, such as our Baking Soda and Vinegar hack. But, leaving your oven to soak overnight means that you cannot use it and the chore now takes up time over two days.
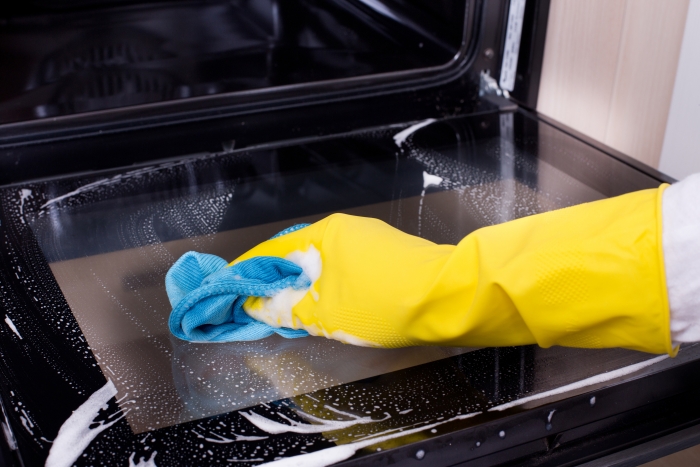
If you want to get a quick fix, between your professional cleans, you could try our fast steam process.
You will need:
- A metal baking dish
- White vinegar
- Water
- Baking power
- Lemon juice
- A spray bottle
Steps:
- Remove all the racks from your oven and wipe away any loose debris.
- Add back in the bottom rack, and place on top a metal baking dish filled with ½ cup of white vinegar and water. You should also make some of this mixture into a spray bottle.
- Bake at 180°C, until the mixture has steamed the oven.
- Open the oven and carefully spray the surfaces with the cool mixture. Be very careful not to burn yourself.
- Shut the door and leave the oven to cool, this can take around 30 minutes. Be sure you are comfortable with the oven temperature before returning to it.
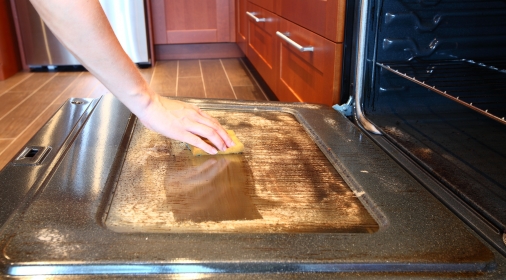
- Wipe down your oven. Mix a paste of baking soda and lemon juice, you can use this mixture to scrub any hard to remove areas.
How to Clean the Kitchen in 45 Minutes
Now your oven is sparkling clean, it’s time to tackle the rest of the kitchen. Read on for some handy hints and tips to really make your kitchen shine and still give you the chance to put the kettle on afterwards for some rest and relaxation.
Remove any non-kitchen items – 5 mins
You know what it’s like, you come in from a day at work or school and just dump anything you are carrying in the nearest available spot, where it stays until you need it again. So, the first step to cleaning your kitchen is to remove anything that doesn’t belong there and put it back where it should be.
The quickest way to do this is to gather it all together, perhaps in a laundry basket or similar, and make your way around the house dropping it off in each room at a time. Try not to get side-tracked though.
Do the washing up – 10 mins
Seems like a simple one. Ideally, you would keep on top of the washing up anyway, and do it after every meal, but often there just isn’t the opportunity. So, get it out of the way and dry it while you do the rest of the kitchen. It may even have dried by the time you finish your clean up, meaning you can put it back in its rightful cupboards and drawers too.
It is important to rinse your crockery and cutlery and not just leave it dripping with soapy water, for the ultimate in cleanliness and hygiene. It won’t add much time to the overall cleaning process, and it should cut down on the drying time too.
Concentrate on the surfaces – 5 mins
The most important part of your kitchen when it comes to cleaning it, is your worktop surfaces,, including kitchen islands and anywhere else where you might prepare food. How you clean these, really depends on what material they are made from. Laminate worktops require a quick wipe over with a damp cloth, ideally with some sort of antibacterial cleaning product. Whereas wooden worktops, such as those made from oak, walnut or beech, require a bit more care and attention.
Again, a soft damp cloth such as microfibre can be used, but try not to incorporate any harsh chemicals which can damage the wood. A bit of washing up liquid can help cut through any greasy areas. Definitely don’t use a wire scourer as you will end up scratching the surface. If you have any more troublesome areas, adding a splash of white vinegar to your cleaning solution can make a big difference. It will also make it easier and faster to clean each time you do it.
Whip round the appliances – 5 mins
If you clean your appliances regularly, you will find that it doesn’t take very long at all to do it each time. This goes for your hob, sink, microwave and fridge. Things like your kettle, toaster, oven, washing machine and dishwasher can be cleaned only when you do a thorough and more lengthy deep clean.
But, giving the other appliances some attention every time you clean will keep them spick and span and you will find that you don’t need to employ as much elbow grease to get rid of the food grease, saving you time in the long run.
Clean the floor – 15 mins
Muddy footprints – both human and animal – food crumbs and bits of packaging can all make your kitchen floor dirty. The best way to tackle these is to sweep or vacuum the floor first to get rid of any particles. But, make sure you do it after you have wiped your surfaces in case anything falls on the floor while you are cleaning your worktops and hob. You don’t want to have to do the job twice!
Then, get out your mop and bucket. Fill the bucket with a detergent solution and get scrubbing! Much like with your worktops, this will depend on the type of floor surface you have. Mopping a stone or concrete floor, for example, may not be as effective as washing laminate, vinyl or porcelain tiles which lend themselves to a quick go over with soapy water.
Finish with a flourish – 5 mins
If you still have some time left, get going on the outside of your storage cabinets with an antibacterial spray. A quick wipe over and they will likely look as good as new. You can leave the insides for another day.
Lastly, put away that washing up and give your sink and draining board a scrub. The most effective substance to use here is a mix of baking soda and white vinegar to get rid of any marks while adding a layer of baby oil or lemon juice at the end will make stainless steel taps and sinks sparkle.
Final thoughts
Just because you are cleaning your kitchen in a short space of time, doesn’t mean you aren’t going to be thorough. Following the steps above, and in this order, will make the chore a breeze.
If you want to get a professional to clean your oven – the messiest of all the jobs – then get in contact with us now and book one of our friendly cleaning specialists to do it for you. Then get the kettle on!

